Thursday, November 21, 2013

Catching Fire Projects

"So, it's you and a syringe against the Capitol? See, this is why no one lets you make the plans." -Suzanne Collins, Catching Fire

With Catching Fire, the newest movie in The Hunger Games series, coming out tomorrow, I figured it was time to post some projects based on the books/movies.  If you remember my previous Hunger Games post, you could make coasters for this movie too. With the mockingjay pin being a very prevalent part of the movies, I decided to do the pin idea in two different ways.


Traditional Pin Form:

Materials:

  • Black Polymer Clay
  • Gold (or similar) Polymer Clay
  • Pin Back
  • E6000
Directions:
  1. Roll out a piece of black polymer clay and shape into a circle.
  2. Roll out a long tube of gold polymer clay and outline the circle in it.
  3. Shape some clay into an arrow and attach across the circles.
  4. Create a mocking jay shape and attach to the circle.
  5. Bake at 225 degrees for 10 minutes. Let cool.
  6. Attach pin back to the mockingjay using E6000.

Mockinjay hairband:

Materials:
  • Gold Polymer Clay
  • Headband
  • E6000
Directions:
  1. Create the mocking jay as before, except this time do not attach everything to a black circle of clay.
  2. Bake at 225 degrees for 10 minutes. Let cool.
  3. Attach mockingjay to the headband with E6000.  

Enjoy viewing the movie with your new "pins".

Monday, November 18, 2013

Yellow Submarine Earrings

My quote for the post, mostly because it fits so well with what makes me happy.


If you don't remember from my painting to The Beatles post, I love The Beatles.  A few months back I made yellow submarine earrings (although after working on a submarine during my teen years, it might be my least favorite song of theirs).


These were super easy to make.  I molded the submarine out of yellow polymer clay, and added three white polymer clay dots for port holes.  I then baked the earrings at 225 degrees for 10 minutes, let cool, and attached the earring backs with E6000.

I just finished read another Clive Cussler novel, Atlantis Found.  This is another adventure featuring the legendary Dirk Pitt.  At one point in time, the hero comes across a WWII U-boat.  Not a direct tie, but it did remind me of my submarine earrings.  Not very accurate depictions of submarines, but fun none the less.

Sunday, November 17, 2013

Lorax Mug Koozie

The Lorax: "Which way does a tree fall?"
The Once-ler: "Uh, down?"
The Lorax: "A tree falls the way it leans.  Be careful which way you lean."
                                                       -Dr. Suess, The Lorax

The Lorax is the classic environmental story about the consequences of not thinking about environmental sustainability.  The truffula tress were all cut down to make more and more sneeds.  It makes one think what they can do to help.  In order to keep my brother's tea warm while he is out in the field doing environmental research, I made him a Lorax mug koozie.  The face comes from felt scraps.


Materials:

  • Orange yarn
  • Crochet hook
  • Yellow felt scraps
  • White felt scraps
  • Black felt scraps
  • Button
  • Needle and thread
  • Hot glue gun
  • Scissors
Directions:
1. Create a chain of 12, and single crochet until it is about 9 inches long.  (May need to be longer or shorter based on the size or your mug).  Tie off and use excess to create a button hole.
2. Cut out a small mustache and larger mustache out of yellow felt.  Glue them together and then on the bottom of the orange base.
3. Cut out two white circles for eyes and two black circles for pupils.  Glue eyes onto base, just above the mustache.  Glue pupils onto eyes.
4. Cut out two eyebrows out of yellow felt.  Glue onto base with bottom of eyebrows touching the top of the eyes.
5. With orange yarn, glue just enough to the top of the eyes to create eye lids.
6. Slowly glue a circle of orange yarn onto the center of the mustache in order to make the nose.
7. On the side that does not have the button hole, sew a button onto the base.


Thursday, November 7, 2013

Thor 2

"Your ancestors called it magic...but you call in science. I come from a land where they are one and the same." -Thor (2011)

Thor: A Dark World comes out tonight! I love the super hero movies, if you haven't been able to tell.  In celebration, I made a hammer necklace with lightning bolt earrings.  They are fun and will be prefect to wear to the movie!


Materials:
  • Yellow polymer clay
  • Gray or silver polymer clay
  • Brown polymer clay
  • Toothpick
  • Eye ring
  • Chord
  • Earring backs
  • E6000 or super glue.
Directions:
1. Make 2 triangles out of yellow clay.  
2. Cut the triangles into thirds.  Press pieces together to create lightning bolts.

3. Roll brown clay into a small cylinder.  
4. Make a rectangle out of gray clay.  
5. Attach the rectangle to the brown handle.
6. Draw the design onto the hammer.
7. Put a piece of gray clay around the bottom of the hammer handle.
8. Spiral a small strand of gray clay around the handle.
9. Make a small strand of brown clay and attach that to the bottom of the hammer.
10. Add the ring to the top of the hammer.  Attach with extra clay.
11. Bake at 225 degrees for 10 minutes.  Let cool.
12. Add chord to the necklace, and glue backs onto the lightning bolt earrings.

I wore these out a few times and have loved it!  It always helps to have the god of thunder as your jewelry. 

Monday, November 4, 2013

Chalkboard vase with Starburst Flowers

"There are certain things in life where you know it's a mistake but you don't really know it's a mistake because the only way to know that it really is a mistake is to make that mistake and go, "Yup, that was a mistake." So really, the bigger mistake would be to not make the mistake because then you'll go about your whole life not knowing whether it was a mistake or not." -Lily Aldrin, How I Met Your Mother

If you haven't noticed by now, I love quotes.  From movies, books, interviews, speeches, or any conversations. I also love a pretty fake flower (because I always feel bad about buying real ones).  Trying to figure out what to do with Starburst wrappers, turned into these pretty flowers which I attached to toothpicks and put in a homemade wine bottle vase.  The flowers I found at Folding Trees which have tons of ideas for making creative paper items. The vase idea is all over, but it is easy to make and fun to write on.


Materials:


  • Wine bottle (with label removed)
  • Spray paint (of your color of choice)
  • Glue (E6000 works well)
  • Jute
  • Chalkboard paint
  • Brush
  • Chalk
Directions:
1. Spray paint bottle and let dry.
2. Glue jute to the neck and the bottom of the bottle.  Let dry.
3. Paint a rectangle on one side of the bottle using the chalkboard paint. Let dry.
4. Write your message on the bottle and add flowers.

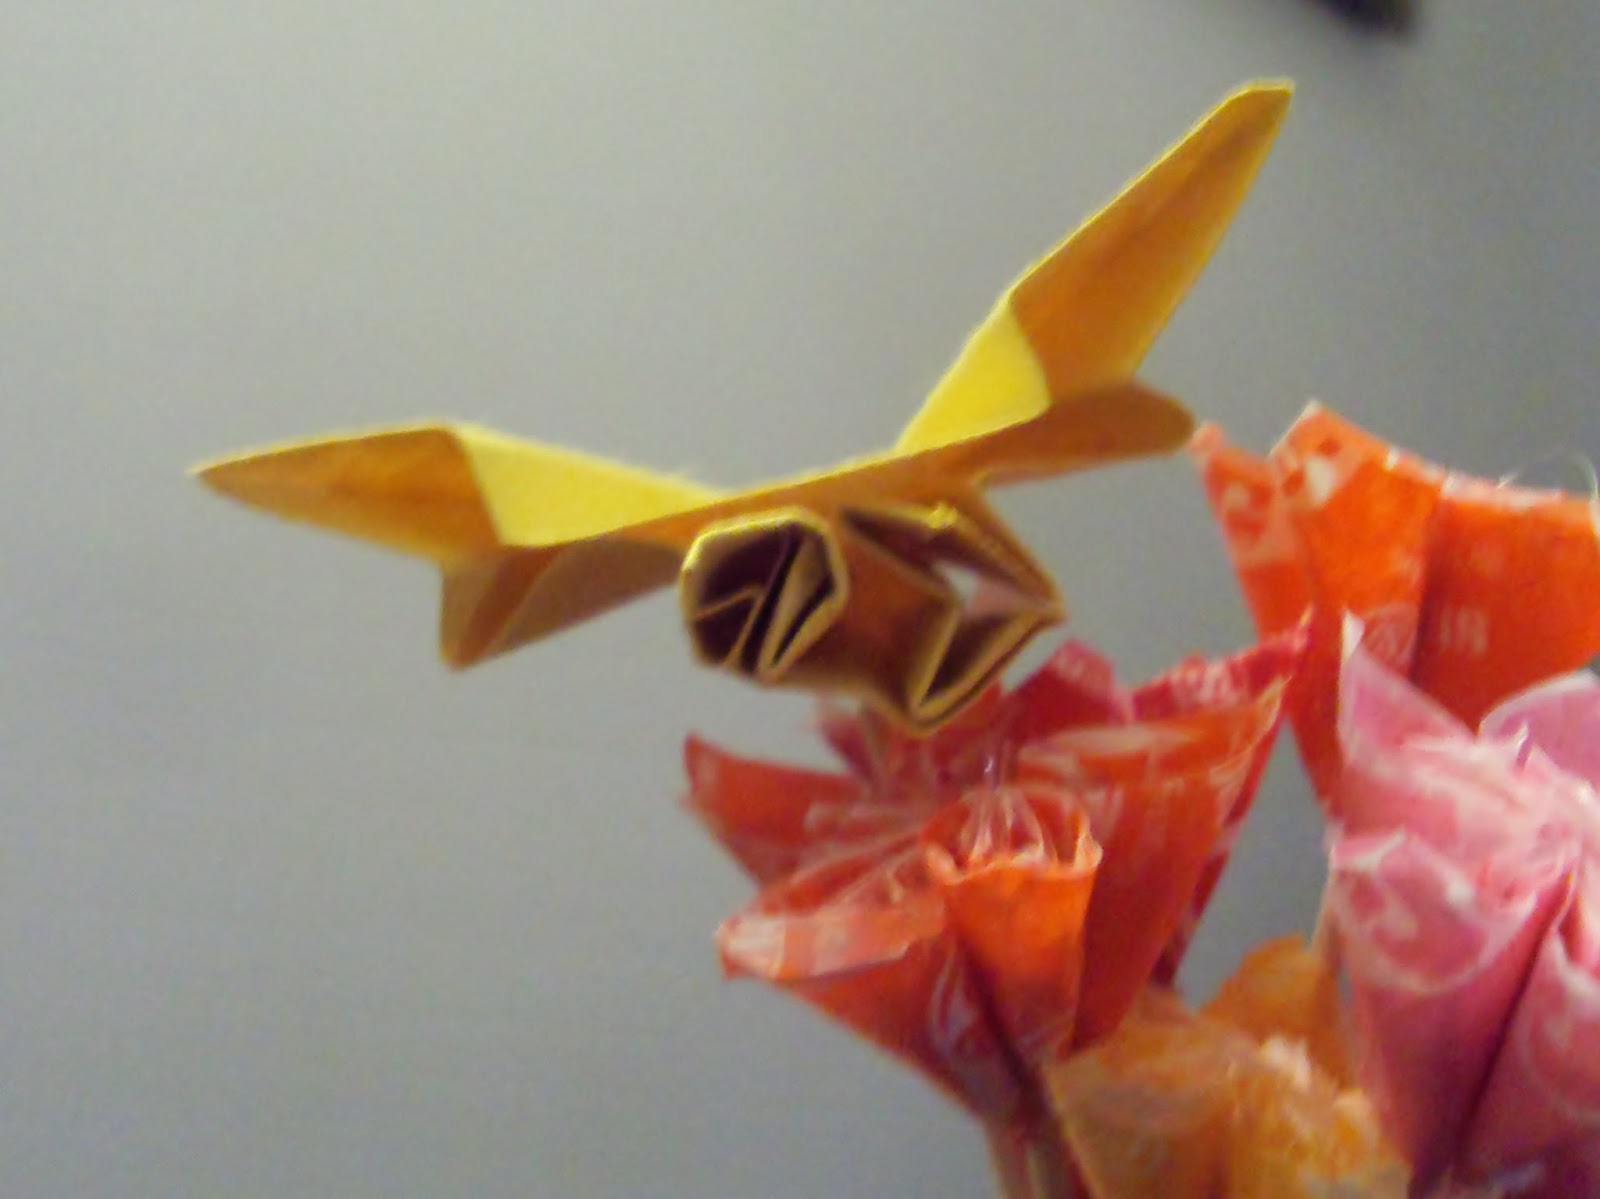
My message was one form The Beatles: "And in the end the love you take is equal to the love you make."  I also added Ender's ship to the the flowers just for something different.


This is a sweet (pun intended) craft.  It would go great with a romantic tale.  Anyone have a favorite romance that they are reading/have read?

Thursday, October 31, 2013

Ender's Game

"I don't care if I pass your test, I don't care if I follow your rules. If you can cheat, so can I. I won't let you beat me unfairly- I'll beat you unfairly first." -Orson Scott Card, Ender's Game

The Ender's Game movie comes out this weekend. I just finished reading Ender's Game by Orson Scott Card, myself.  I was uncertain if I would like the book, however I loved it.  The story pace kept up and it made me reflect on the kind of person I want to be.

I learned how to make a spaceship from a fan resource.  Check out the link here.  


Here is the ship image from their blog.  I will upload my picture soon!  Until then enjoy the movie, the book, and the crafting!


My attempt at the ship.  

Jack-o-lantern Jar

"On Halloween, the parents sent their children out looking like me." -Rodney Dangerfield

HAPPY HALLOWEEN!  I love Halloween. There are so many wonderful things about it.  Mostly candy and costumes.  But there are the scary movies, the ghost shows, and Goosebump books.  I always liked the choose your own ending ones.  This pumpkin dish has a few more treats than tricks.


Materials:
  • Pickle Jar cleaned with label removed.
  • Orange Spray Paint
  • Black Chalkboard Paint
  • Spanish Moss
  • Paint Brush
  • Hot Glue Gun
  • Chalk
Directions:
1. Spray paint jar orange.
2. Paint the lid of the jar with the chalk board paint.  Also paint a face on the jar to look like a Jack-o-lantern.
3. Glue moss on the top of the jar.
4. Decorate the lid and face.