Saturday, December 13, 2014

Stormtrooper ornament

"A lovely thing about Christmas is that it's compulsory, like a thunderstorm, and we all go through it together." -Garrison Keillor, Leaving Home


Materials:
  • White Felt
  • Black Felt
  • Polyfil
  • Needle and Thread

Directions:
  1. Fold white felt in half and cut out the stormtrooper helmet.
  2. Cut out the black felt helmet pieces.
  3. Sew the black felt pieces onto one of the white helmet pieces.  
  4. Sew the two pieces of felt together, leaving a small opening.
  5. Stuff the ornament with polyfil.
  6. Sew the rest back together.  
  7. Attach to the tree with an ornament hook.


Thursday, December 11, 2014

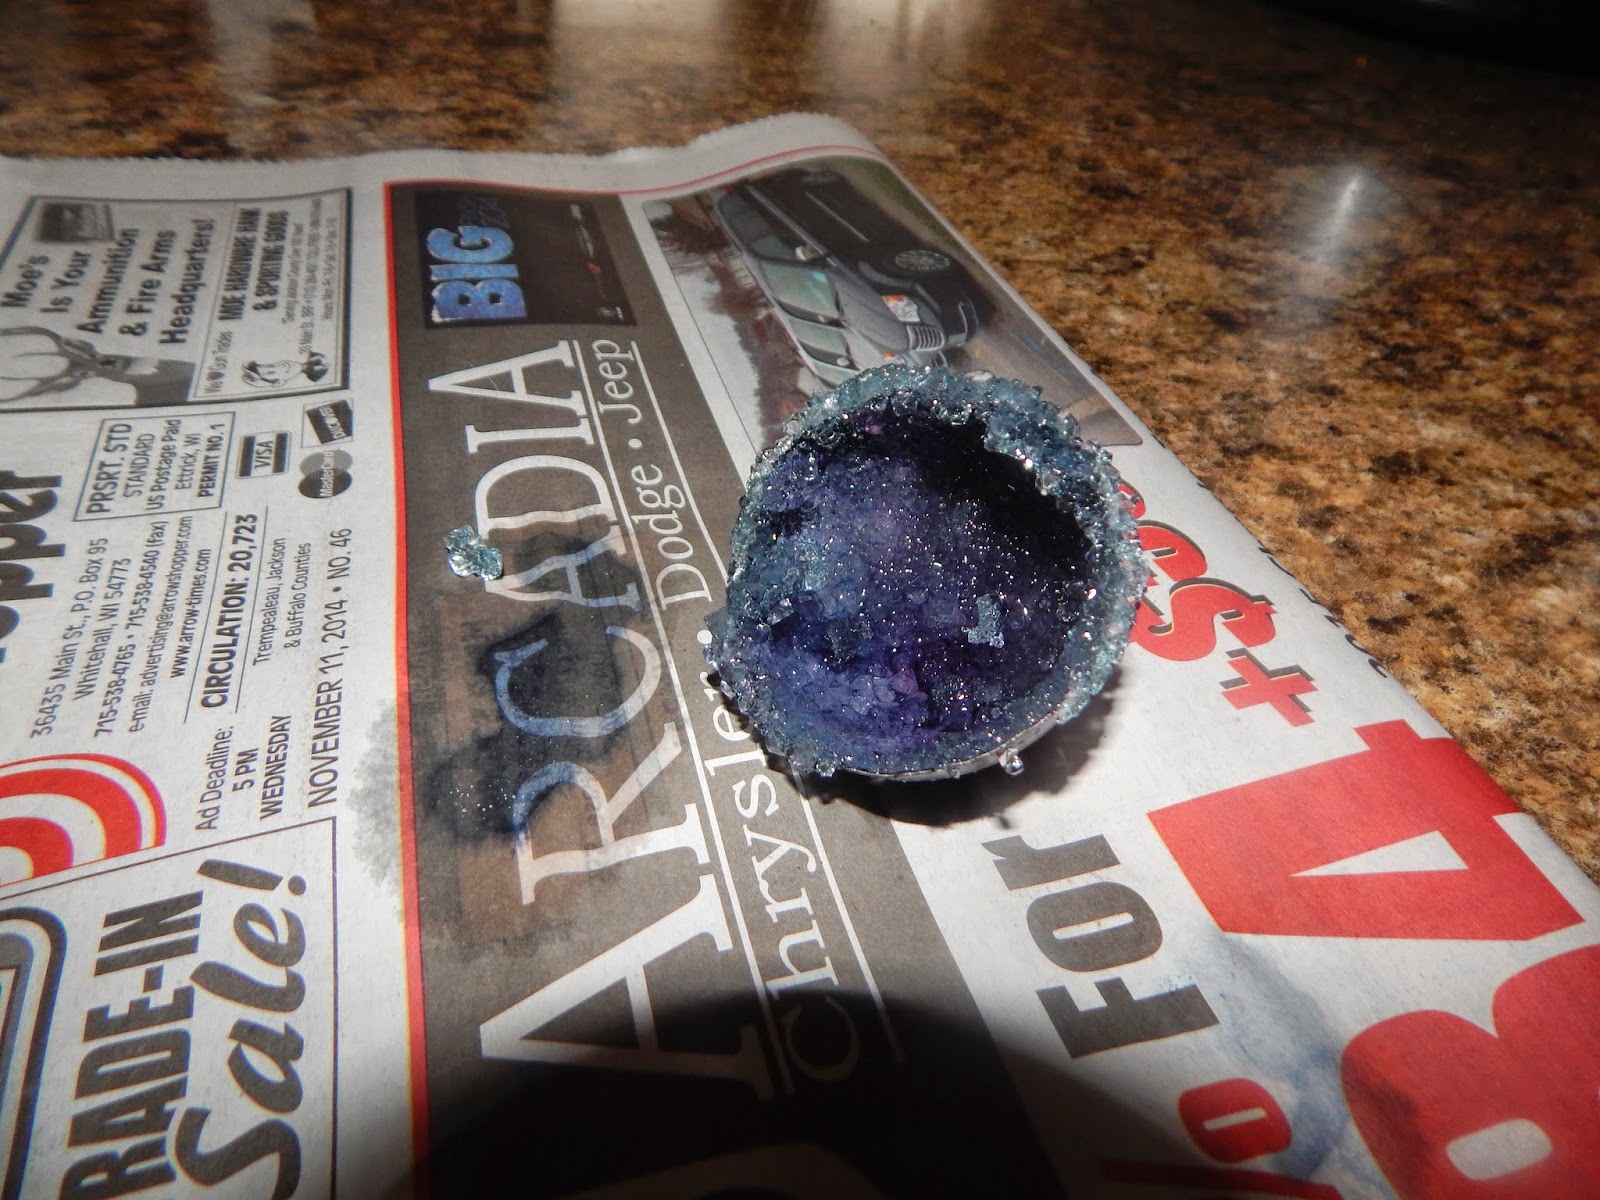
The Glass Castle Geodes

"I lived in a world where at any moment could erupt into fire.  It was the sort of knowledge that kept you on your toes." -Jeannette Walls, The Glass Castle

The Glass Castle by Jeannette Walls was this months book club pick.  The story is about Jeannette's unconventional life growing up in a family that made do with what little they had.  Jeannette brings humor and a personal strength to her stories.  One of her prized possessions was her geode that she found.  Her rock collection was her treasure, and since I am not going to find a geode buried in the frozen ground, I decided to make my own geode.  


Materials:

  • Egg Shell (blown out and cut in half, preferably the long way)
  • Alum Powder
  • Elmer's Glue
  • Paint Brush
  • Plastic Cup
  • Food Coloring
  • Water
  • Craft Stick for Stirring
Directions:
  1. Using the paint brush, cover the inside of the egg shell with a thin layer of glue.  Cover that with a layer of alum powder.  Let dry overnight.
  2. In a plastic cup add 40 drops of food coloring of your choosing.  Heat up water to just below boiling.  Add 3/4 cup of water to the plastic cup.
  3. Add 1/4 cup of alum powder to the water solution. Stir to dissolve the alum powder.  Heat in the microwave to dissolve any of the crystals left in the cup.
  4. Add the egg shell to the cup with the inside facing up.  Let sit 12-15 hours.
  5. Remove the egg shell and let dry on newspaper.
The geodes turned out pretty cool!

Wednesday, December 10, 2014

Final Fantasy Etched Glassware

"Christmas is doing something a little bit extra for someone." -Charles M. Schulz


Looking for a geeky Christmas present for a gamer in you life?  These glasses can be made based on any game or interest.  

Materials:
  • Set of glasses
  • Printer labels
  • Scissors
  • Glass Etching Cream
  • Paint Brush
Directions:
  1. Print image on the label.
  2. Cut out the design to create a stencil.
  3. Place label on the glass.  Press flat and remove any bubbles.
  4. With the paint brush apply the Etching cream on the glass.  Follow the directions on the etching cream.
  5. Let air dry.


Tuesday, December 9, 2014

Ghostbusters ornament

"Christmas is a necessity.  There has to be at least one day of the year to remind us that we're here for something else besides ourselves." -Eric Sevareid


With Ghostbusters III in the works,  this ornament can be used for Christmas, Halloween, and the upcoming movie.  

Materials:

  • Green bulb ornament
  • White, red, and black paint
  • Black puff paint
  • Paint brush
Directions:
  1. Paint a black circle in the middle of the ornament. Let dry.
  2. Paint a red outline around the black circle. Let dry.
  3. Paint the white ghost on the ornament. Let dry.
  4. Paint the red slash over the ghost. Let dry.
  5. Using the black puff paint add an outline and details to the ghost. Let dry and then hang on the tree.

Monday, December 8, 2014

Light Bulb Vase

"My idea of Christmas, whether old fashioned or modern, is very simple: loving others. Come to think of it, why do we have to wait for Christmas to do that?" -Bob Hope


Want to make a simple unique vase for friends or family?  Try making it out of a light bulb!  If you haven't replaced your old light bulbs with energy efficient one, whats a better reason than crafting?  

Materials:
Light Bulb
Cloth
Pliers
Salt
Polymer Clay

Directions:
1. Follow the directions over at not normal to remove the parts of the light bulb. 
2. Using polymer clay create a circle for the base of the light bulb. Bake for 15 minutes at 350 degrees. Let cool.
3. Place bulb in circle.

The cool thing is it can be used like all vases. So get creative with flowers, a terrarium, sand, candles, ect.


Sunday, December 7, 2014

Video Game Controller Plush Ornament

"One of the most glorious messes in the world is the mess created in the living room on Christmas day. Don't clean it up too quickly." -Andy Rooney

This was one of the very first ornaments I made for my Geeky Christmas tree.   It could have used some more work, but it does remind me of an old school Nintendo controller.  

Materials:
  • Red, Black, and White Felt.
  • Needle and Thread
  • White and Pink Embroidery Floss
  • Scissors
  • Polyfiber
Directions:
1. Cut out two large rectangles of white fabric. Cut out four small rectangles and two small squares with the white felt. 
2. Cut out a rectangle of black fabric slightly smaller than the white rectangle. 
3.  Cut out two tiny red circles to fit inside the small squares. 
4. Sew the small white rectangles onto the black felt in a line directly left of the middle.  Sew the two small circles onto the black fabric to the right of the rectangles and towards the bottom.
5. Sew the red dots onto of the white squares.
6. With the white floss embroider a small cross to the left of the middle rectangles.
7. With the pink floss embroider six small pink lines above the red buttons.
8. Sew the black rectangle onto one of the large white felt rectangles.
9. Sew the two white pieces together leaving a small opening on one end.
10. Stuff with polyfiber. Finish sewing together.
11. With the white embroidery floss create a small loop at the top of the ornament. 

Fun to give to any gamer in your life.  


Saturday, December 6, 2014

Shrinky Dink Earrings

"It's the little details that are vital.  Little things make big things happen." -John Wooden


Looking for a fun project for the whole family?  Let me suggest shrinky dinks!  Whether you turn them into magnets, key chains, or these adorable earrings, they are fun to make and entertaining for all ages.

Materials:

  • Shinky Dink Plastic
  • Earrings
  • String
  • Sand Paper
  • Pencil
  • Colored Pencils or Sharpies
  • Hole punch
Directions:
  1. Sand one side of the Shrinky Dink plastic until it is evenly rough.
  2. Draw or trace an image onto the rough side of the plastic.
  3. Color in the image.
  4. Using the hole punch, punch a hole in the top of the designs.
  5. Shrink according to Shrinky Dink instructions. Let cool.
  6. Using string (or clear fishing line would work best) attach the plastic to the earring.
Make ones to show off your team pride, for the next big movie opening, or to express yourself!